Wednesday, July 25, 2012

Papertrey July Blog Hop Challenge

Papertrey July Blog Hop Challenge


I used all these colors.  I tried making a ribbon flower I learned in the stamp-a-faire. I used my heat gun instead of the candle, really easy.  It has a simply chartreuse button inside standing up. 


 I really love using this new stamp set Natural Beauties.  The sentiment is from TweetTalk and I added a few white i-roc gems.  

Friday, July 20, 2012

2012 Stamp-a-Faire

Hello everyone!  I am very much looking forward to

I am going to keep everyone in one long post as I do the activities.  For Friday evening, I missed the meet and greet time, but since it is not a live event, I actually think this will work out better for me as I can do my things I need to do and still fully participate!!  Here are all the projects and "badges" to earn.  I will post my projects after each badge.  I have all my stuff and am ready to get started!


-Morning Make-n-Take


All ready to get started!

I made it!

close up

I think for today I will just use the web cam.  I can always take better photos of the cards later, but really the webcam is not at all that bad for low res web photos.    Now to wait for the next one.  I will be back in a little bit, I have to go turn in my yeast bread at the county fair!


8am EST: "Knots Badge- Ribbon Techniques Challenge"

Knots-Badge

Mostly PTI products ink, and ribbon!  I used a balloon die I had on hand.  Melon Berry is the color I got in my kit.  What colors did everyone else get?

10am EST: "Memory Preservation Badge- Mini Book Challenge"

Memory-Preservation-Badge
Whew this one took a long time.  Am glad they timed it for the long stretch.
  The only thing not PTI is the kraft tag.


1pm EST: "Craft Conservation Badge- Limited Supply Challenge"

Craft-Conservation-Badge

Wow this is my favorite one so far!

2pm EST: "Friendship Badge- Beaded Friendship Bracelets"

Friendship-Badge

Whew did not like making this project at all.  Paper beads are not really an interest of mine.  Maybe if I would have had a smaller diameter skewer.  Another issue I am having, totally unrelated to the PTI stuff, is that any die I use in my Cuttlebug just doesnt cut as clean as it should.  I even bought an entirely new platform (magnetic) to use and it doesnt matter what brand die, there are sections that do not cut.  That added to my displeasure on this project.  I look forward to trying the next one.  Here is what I did end up with on the beads.  I used elastic beading cord, and hid the knot in one of the paper beads.
Here is Katie's version


4pm EST: "Rainbow Badge- Tie-Dye Techniques"
Rainbow-Badge


This one was a lot of fun, and there is another technique using shaving cream that later I will have to try!  Such fun!  I cant order anything today, the kits for this event was the end of the budget, so will have to wait until later- sad panda.   I still think this technique turned out terrific!

6pm EST: "Correspondence Badge- Camp Card Set Challenge"
Correspondence-Badge


8pm EST: "DIY Badge- Homemade Embellishments"
DIY-Badge


Since Melon Berry was the big set of stuff that I got in the kit, I thought to use a monochromatic card with the embellishment I made.

All done!  Whew what a long day!  I wish I would have been able to use more of the stuff in the kit, have a lot of stuff left over.  More projects later!

p.s. for those who wonder how I did at the County Fair with my yeast bread


Thursday, July 19, 2012

WOYWW 163

Things have been quite busy here getting ready for vacation.  Sorry for not posting regularly.  Here is what is on my desk this week, I am getting ready for Papertrey Ink's Stamp a Faire
I have my huge box of goodies there on my desk all ready to go.  Printed out the supply lists, think I prety much have everything that is needed, and if I dont, well no big deal.  I am not yet sure I want to wake up on Saturday morning at 7am, and we want to hit the farmer's market, so my plan is to get up about 8, do the 7 and 8 am projects, hit the market, come back and catch up and make cards the rest of the day!

Anyone else participating in the Stamp-a-Faire?  Would love to chat during the day with you!  Leave me your email addy in your post (stupid blogger doesnt give me any way to reply directly to your comment) or email me directly at (remove spaces of course, you know) mykemma at gmail dot com.

Join Julia at Stamping Ground and all us Wednesday snoops as we invade workdesks across the country and around the world. And thanks as always for leaving your number.

Wednesday, July 18, 2012

Cooking with Cricut #95


Today's Cooking with Cricut Challenge asks for you to use buttons and/or brads on your project.  I cut out the sentiment from the Wild Cards Cricut Cartridge.  I took a Tim Holtz Distress Marker and tried to add a little shading to the sentiment, not too bad, but could be better.  I punched the butterfly with a punch I had.  Then I added some white twine and three fancy flower brads to the sides.  I put the brads on the flower paper before I adhered it to the base, which I distressed just a tiny bit with Tim Holtz

Thanks for baking with me!
Kemma

Tuesday, July 17, 2012

Papertrey Ink Make it Monday #75 Roll the Die Challenge

Here is a link to the challenge. Basically you have this sheet and you fill it out, then you roll a die to pick combinations of what you have to create.  Here is what I ended up with:
Vertical
layout #6
stamp set of Just the Ticket
supporting of Tag its 3
color combo of classic Kraft, pure poppy, simply chartreuse, and aqua mist
ribbon or twine embellishment

So with that here is what I created

I have to say that I would not have made this without this challenge.  I created the background design with the stamp colors using the three lines stamp from the ticket set.  I was trying to make it whimsy but it just looks rather messy.  I used the ticket die to make the stamps with pure poppy which I think look the best.

Wednesday, July 11, 2012

Cooking with Cricut #94


This week's Cooking with Cricut challenge is for Madison's Feel the Love project.

For today's card, I had this lovely butterfly that I had cut out for another project and didn't use from the Paper Trimmings Cricut cartridge.  I decided I wanted to use this butterfly and then looked at what I already had-you know, you probably have one too, a box or folder of things cut out that you decided not to use and saved.  That is what I used to get this one started.

For the card  I used a white card base.  I stamped butterflies with Beautiful Butterflies (Papertrey Ink) using Terracotta Tile, Summer Sunrise and Harvest Gold (Papertrey Ink) inks.  I had a cut out hexagon grid also in my extras box made with a hexagon die (Papertrey Ink) so I sprayed it with glimmer mist.  I cut out a few of the hexagons to make a little place for the sentiment which is from Happy Hexagons (Papertrey Ink) stamps and inked with the Terracotta Tile.  On the butterfly I used some multicolored stickles on the body and inked around the edges with Harvest Gold.  


I will be sending this (along with an envelope) to Madison this week!

Thanks for baking with me!
Kemma

Thursday, July 5, 2012

Cooking with Cricut Cartridge Showcase

Cartridge Showcase: Imagine Blast Off

Good morning everyone!  Today I wanted to showcase an Imagine cartridge.  In case you are not familiar with the Cricut Imagine, it is the only Cricut machine that can print and cut images.  The machine can use both your standard Cricut cartriges as well as the special Imagine cartridges.  Note, you cannot use an Imagine cartridge in most older regular Cricut machines, though the newest E2 Cricut machine can cut them (not print them) and has a separate slot to accept both kinds of cartriges.

One of the really neat things about using the Imagine, is the ability to make your own patterned paper.  Each cartridge comes with many patterns to chose from, and there are even cartridges solely for patterned paper. Here is a sheet that I created to show you:


Fun isn't it!  So then, how does someone make something with an Imagine?  Let's make one of the projects from the cartridge, a door hanger with a pocket, which I am assuming is for notes or what not.

First you start with white paper on your Cricut Mat.

Find the image you want to cut on the screen and click the plus to add it.  There are a few more screens where you select the size and number and other settings.  I won't bore you will all those screens.

 So now lets tell it to GO!
 First it will print, sending it out the back, then automatically
  it will bring it back through the front and then cut the image out.   Take it off the mat
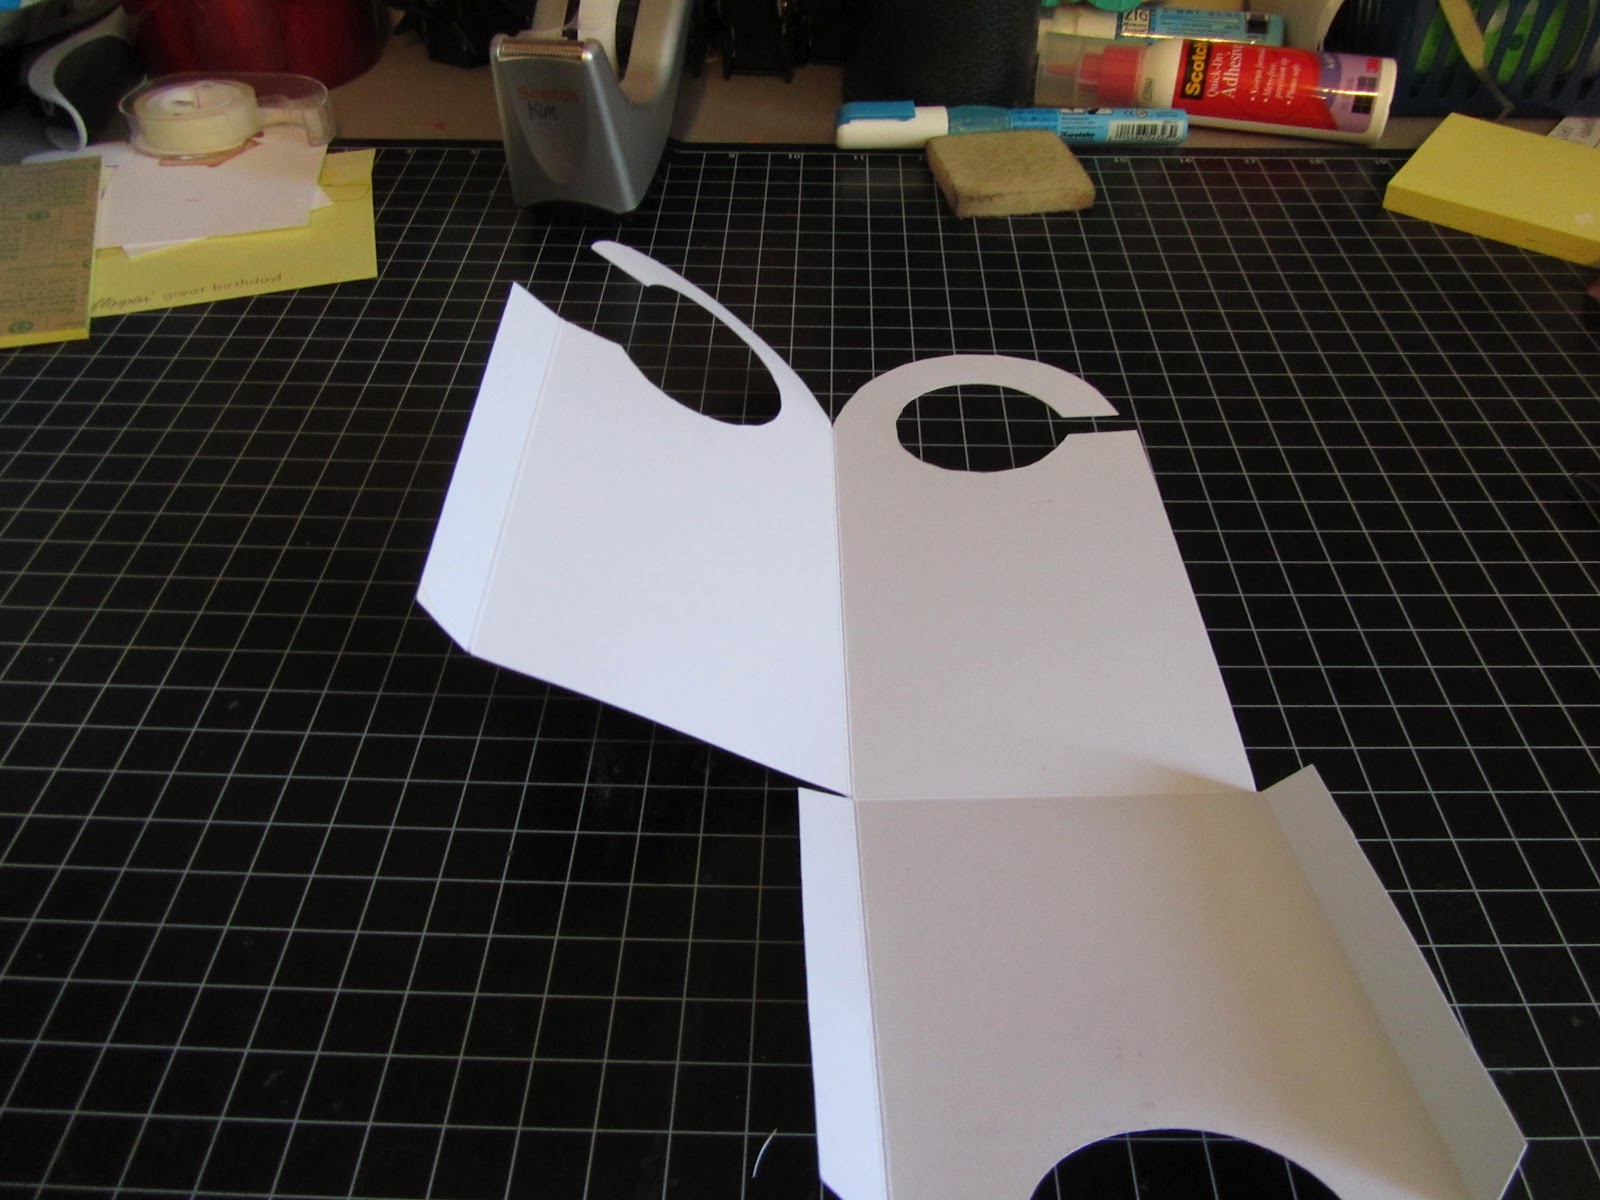
 For this particular project I thought it would be easier to score the folds first.
 and then fold all the creases and make sure things go together ok.
 I used 2 sided tape, but you can use glue and assembled it
 Then decorate, and of course put in the pocket a note!  All done!
 Doesn't it look nice on the door?


I have used this cartridge several times before, most recently for our Cooking with Cricut Challenge #86 making this wonderful door hanger.

This cartridge does have a fun alphabet on it.

I also made a large #4 for my grand daughter.


Thanks for baking with me!
Kemma