I used acrylic paint, since this is MDF board, and it took 3 coats to really get it to look smooth. There are a few more pieces than what is shown here. But you get the idea.
So next I decided I wanted a more distressed type of look to the base. So after allowing the last coat to dry 24 hours (and I think 48 would have been better) I took a rough sanding block, and distressed the edges.
I did this over the trash can it produces a lot of dust. You can sort of see there in the photo the part closer to me has the color removed from the edges where the other half hasnt yet. This took quite a bit of sanding to get it to look the way I wanted it. Wipe off the boards with a damp cloth to get the rest of the dust off.
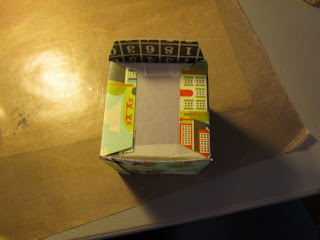
Here are all my strips of paper that I have cut. They are 12 inches long and 3.25 inches wide. I did this so that I can wrap the under side edge. Here are some photos of covering one of the drawers
On the long side, score at 2 7/8. Make sure you pay attention to your design on your paper.
Then score at 1/2, 3 1/8, 5 7/8, 8 1/2, and 11 1/4.
on the bottom below the long score, snip at the scores a little v, this will help fold them under at the bottom.
The first one I did I used glue, that took too long to dry and be able to hold the paper on the drawer, so I found cheap 2 sided tape worked MUCH better. Start on this side of the box, that way the final piece will wrap around and you will have your seam direcly on the back
Here is the drawer wrapped. Now for the bottom.
tape down the flaps
Then take a 2 1/2 inch square and tape it over the bottom. Now we have to deal with the notch.
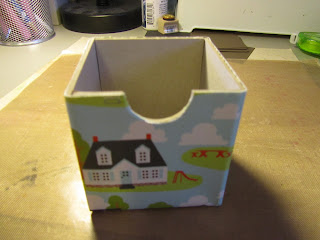
Take your exacto knife and very slowly go along the edge.
And there we have a finished drawer!
Now to just do the rest!
I will post another photo when it is all done.
Lessons Learned:
Dont need two sided heavy card stock, the best drawer was regular paper weight paper.


No comments:
Post a Comment